
In the realm of modern electronics and DIY innovation, Arduino has firmly established itself as a cornerstone for both hobbyists and professional engineers. Its open-source platform, ease of use, and extensive community support make it an ideal choice for those looking to delve into the world of microcontrollers. This article explores the journey from concept to creation using Arduino project kits, unveiling the possibilities and process that turn ideas into tangible inventions.
Understanding Arduino
At its core, Arduino is a microcontroller-based platform that offers both hardware and software utilities to facilitate the development of interactive projects. The hardware is typically a microcontroller board integrated with analog and digital input/output pins, while the software is an Integrated Development Environment (IDE) used to write and upload code to the physical board.
The Role of Arduino Project Kits
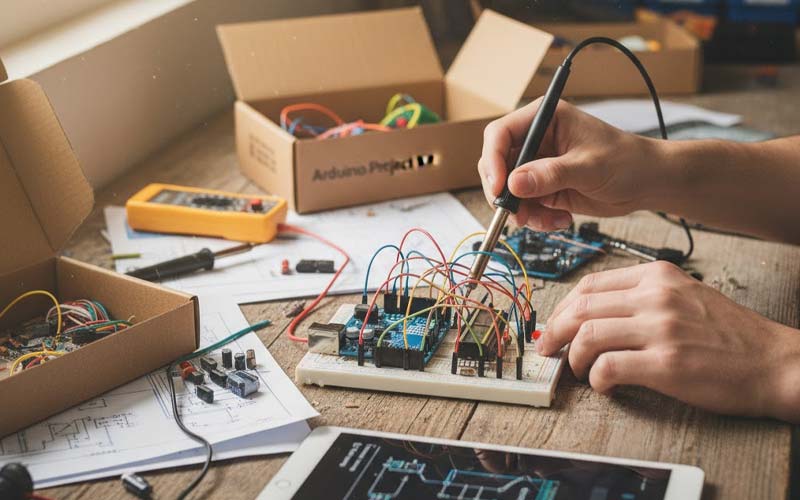
Arduino project kits serve as a comprehensive starting point for learners and inventors looking to embark on their electronic journey. These kits come equipped with an assortment of components, including sensors, actuators, and connectors, along with a microcontroller board. The diversity of components allows users to build a variety of projects, from simple LED blinkers to complex robotic systems.
Essential Components in Arduino Kits
A typical Arduino project kit includes several key components:
- Arduino Board: The heart of any project, this microcontroller board is where all the programming magic happens.
- Resistors and Capacitors: Basic passive components essential for managing current and voltage in circuits.
- LEDs and Displays: Used for visual feedback and user interfaces.
- Sensors: Devices that detect changes in the environment, such as temperature, light, or motion.
- Motors and Servos: Actuators that bring movement and functionality to projects.
- Arduino electronics components: A plethora of additional parts that expand the potential of what can be created.
From Idea to Prototype
The journey from concept to creation with Arduino follows a structured path:
1. Ideation
Every project begins with an idea. Whether it’s a smart home device, a robotic assistant, or a simple educational tool, the first step is to conceptualize what you want to build.
2. Planning and Design
Once the idea is clear, the next step is to plan the project. This involves selecting the right components, drafting a schematic, and outlining the software logic that will drive the project.
3. Prototyping
This phase involves assembling the components and writing the code. Using the Arduino IDE, developers can write and test code snippets, iteratively improving and refining their project.
4. Testing and Troubleshooting
With a prototype in hand, rigorous testing is essential. This step helps identify any bugs or issues, ensuring the project functions as intended. Troubleshooting can involve both hardware adjustments and software debugging.
5. Finalization
Once all issues are resolved and the project works reliably, it is finalized for deployment or demonstration. This may involve packaging the project for presentation or further development into a market-ready product.
The Educational Impact
Arduino project kits are not only tools for creation but also powerful educational resources. They provide a practical hands-on experience that complements theoretical learning, making them invaluable in classrooms and workshops worldwide. By bridging the gap between theory and practice, they inspire innovation and cultivate a deep understanding of electronics and programming.
Conclusion
The journey from concept to creation with Arduino project kits is a rewarding experience that combines creativity, problem-solving, and technical skills. As technology continues to evolve, so too will the possibilities offered by Arduino, empowering a new generation of inventors to bring their ideas to life. Whether you’re a seasoned engineer or a curious beginner, the world of Arduino awaits with endless opportunities for exploration and innovation.